Porcelain tile is a top choice for homeowners seeking a beautiful, durable, and long-lasting flooring solution. Known for its incredible strength and resistance to stains and water, porcelain is perfect for high-traffic areas like kitchens, bathrooms, and entryways. While the end result is stunning, the process of installing porcelain floor tile requires precision and expertise to ensure a flawless and durable finish.
This guide will walk you through the essential steps and considerations of a professional porcelain tile installation. We’ll cover everything from selecting the right tile for your space to the importance of hiring professional tile installation services to bring your vision to life.
Why Choose Porcelain Tile?
Before we dive into the installation process, let’s recap why porcelain is such a popular flooring material. Porcelain tiles are made from a denser, finer clay and fired at higher temperatures than standard ceramic tiles. This process makes them:
- Extremely Durable: Porcelain is highly resistant to scratches, chips, and heavy foot traffic, making it ideal for busy households.
- Water-Resistant: With a very low water absorption rate (less than 0.5%), porcelain is an excellent choice for moisture-prone areas like bathrooms, laundry rooms, and basements.
- Low Maintenance: The dense, non-porous surface is easy to clean and resists staining.
- Versatile in Design: Modern manufacturing techniques allow porcelain tiles to mimic the appearance of natural stone, wood, and concrete, offering endless design possibilities.
The Professional Installation Process: A Step-by-Step Overview
Installing porcelain floor tile is a multi-step process that demands careful planning and execution. While some homeowners might consider a DIY approach, the hardness and density of porcelain make it challenging to cut and handle without specialized tools. Hiring a professional ensures each step is done correctly.
Step 1: Subfloor Preparation
This is the most critical step for a long-lasting tile floor. A professional installer will:
- Inspect the Subfloor: They check for any structural issues, ensuring the subfloor is sound, level, and clean. An uneven subfloor can lead to cracked tiles over time.
- Level the Surface: If necessary, a self-leveling compound is applied to create a perfectly flat surface. Any dips or high spots are addressed to prevent lippage (uneven tile edges).
- Install an Underlayment: A cement backer board or a decoupling membrane is often installed over the subfloor. This provides a stable and appropriate surface for the tile mortar to bond to and can help prevent cracks from transferring from the subfloor to the tiles.
Step 2: Layout and Planning
A well-planned layout is key to a professional-looking result. Installers will:
- Find the Center: They measure the room to find the center point and snap chalk lines to create a grid. This ensures the tile pattern is balanced and minimizes awkward cuts at the edges of the room.
- Perform a Dry Fit: The tiles are laid out without adhesive to check the pattern, spacing, and cuts. This allows for adjustments before anything is permanently set.
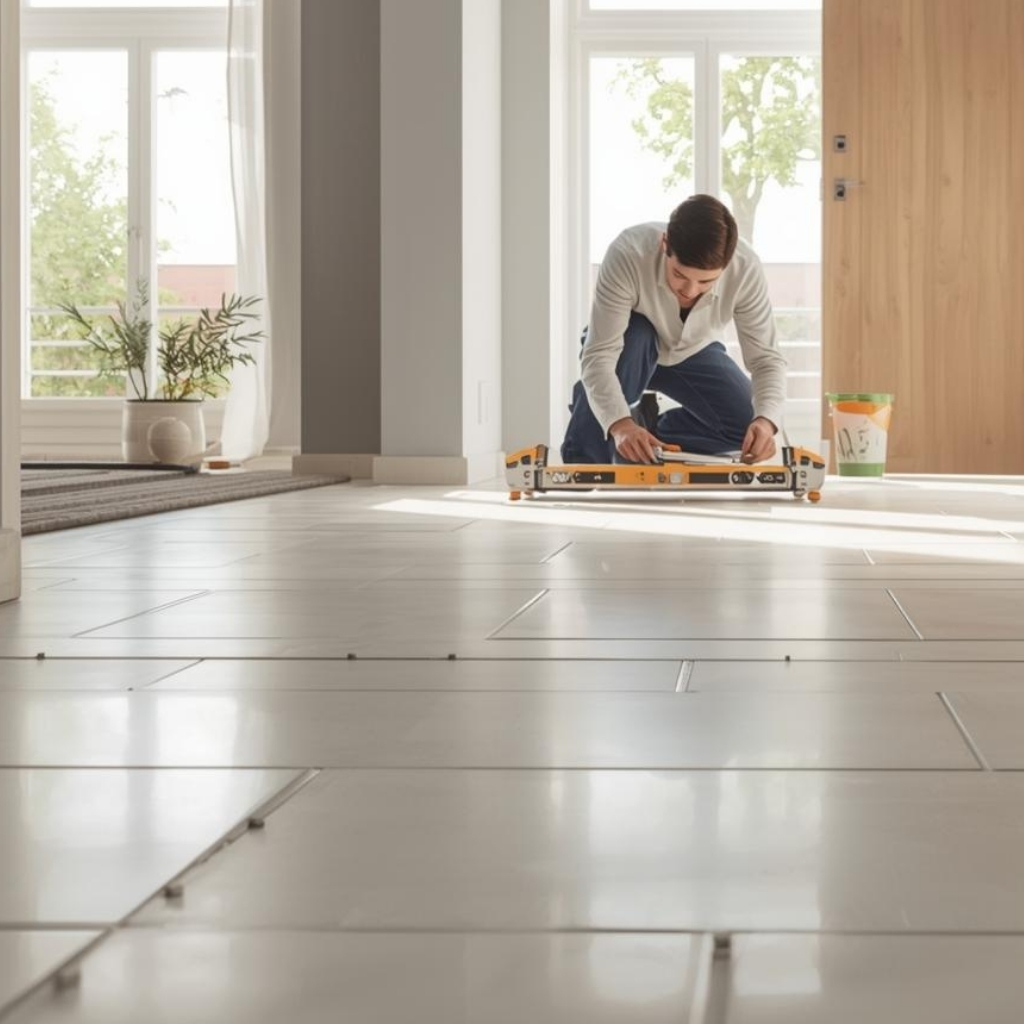
Step 3: Setting the Tiles
This is where the visible part of the installation begins.
- Mixing the Mortar: A high-quality thin-set mortar specifically designed for porcelain tile is mixed to the correct consistency.
- Applying the Mortar: Using a notched trowel, the installer applies an even layer of mortar to a small section of the floor. They may also “back-butter” the tiles (apply a thin layer of mortar to the back of each tile) to ensure a strong bond.
- Placing the Tiles: Each tile is carefully pressed into the mortar with a slight twisting motion. Spacers are used between tiles to maintain consistent grout lines. The installer frequently checks that the tiles are level with one another.
Step 4: Cutting the Tiles
Porcelain’s density makes it difficult to cut. Professional installers use a wet saw with a diamond-tipped blade to make clean, precise cuts for tiles along walls, around doorways, and near obstacles like pipes or cabinets. This is one area where professional equipment makes a significant difference.
Step 5: Grouting and Sealing
After the mortar has fully cured (typically 24-48 hours), the final steps are completed.
- Removing Spacers and Cleaning: All tile spacers are removed, and any excess mortar is scraped away.
- Applying Grout: Grout is applied over the tiles and forced into the joints using a grout float. Excess grout is wiped from the tile surfaces with a damp sponge.
- Sealing (If Necessary): While glazed porcelain tiles do not require sealing, the grout lines do. Applying a grout sealer helps prevent stains and makes cleaning easier.
Finding the Right Professionals in Your Area
The quality of your finished floor depends heavily on the skill of the installer. If you’re searching online for “ceramic tile contractors near me” in the Langley area, it’s essential to find a team with proven expertise in porcelain. Porcelain requires a different level of skill than other tile materials.
When vetting potential contractors, look for:
- A strong portfolio of completed porcelain tile projects.
- Positive customer reviews that mention punctuality, cleanliness, and attention to detail.
- Proof of licensing and insurance to protect you and your property.
- Experience with large-format tiles, if that’s what you’ve chosen, as these require specific techniques to prevent lippage.
Heritage Carpets and Flooring: Your Porcelain Tile Experts
The process of installing porcelain floor tile is a craft that combines technical skill with an artistic eye. To achieve a result that is both beautiful and built to last, partnering with the right team is essential.
At Heritage Carpets and Flooring, our professional tile installation services are managed by experienced craftspeople who specialize in working with porcelain. We handle every detail, from meticulous subfloor preparation to the final grout application, ensuring a flawless finish for your home in Langley and the surrounding communities.
Ready to enhance your home with the timeless elegance of porcelain tile? Contact Heritage Carpets and Flooring today to schedule a consultation. Let our experts provide a seamless installation experience and a floor you’ll love for decades to come.